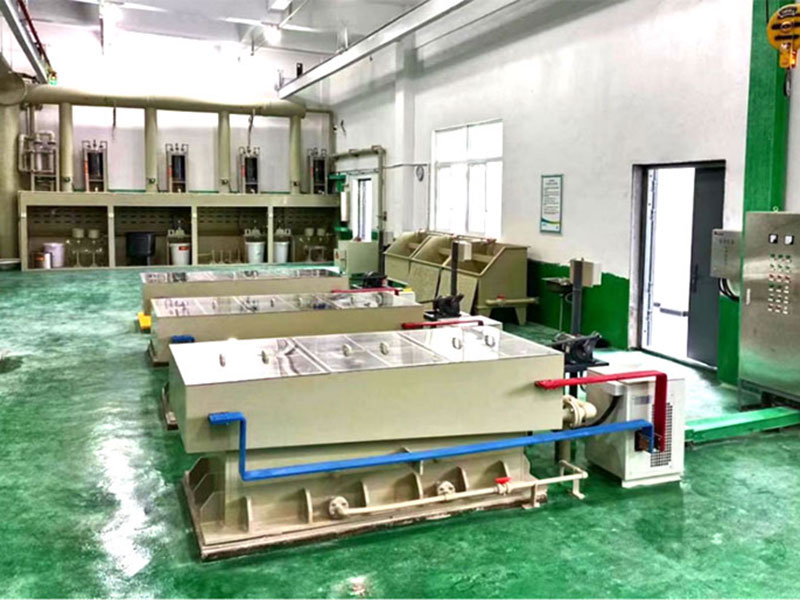
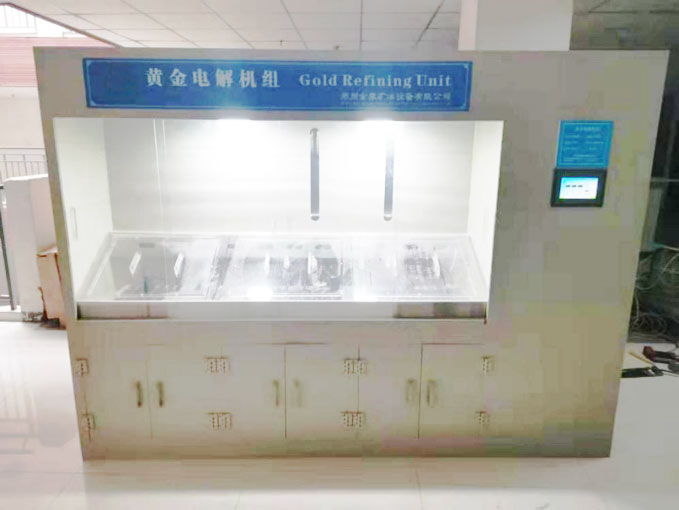
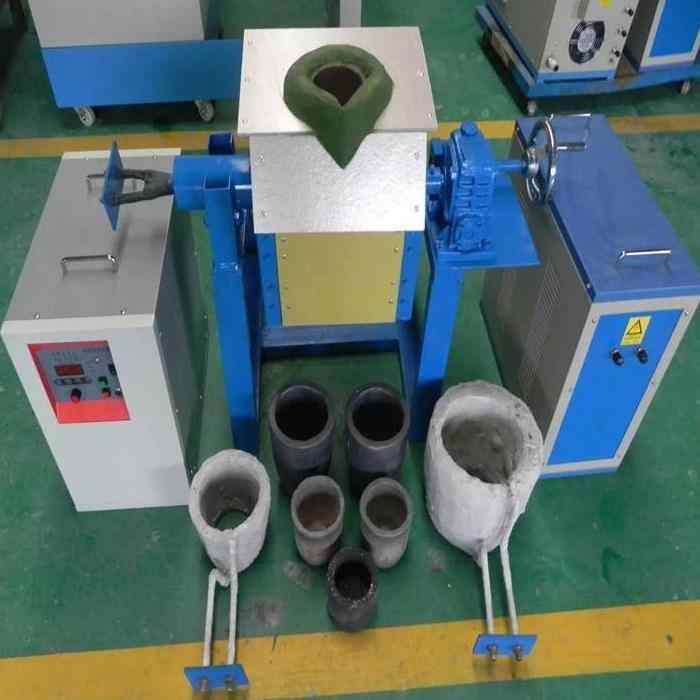
Releated Products
-
-
-
-
-
-
-
-
-
-
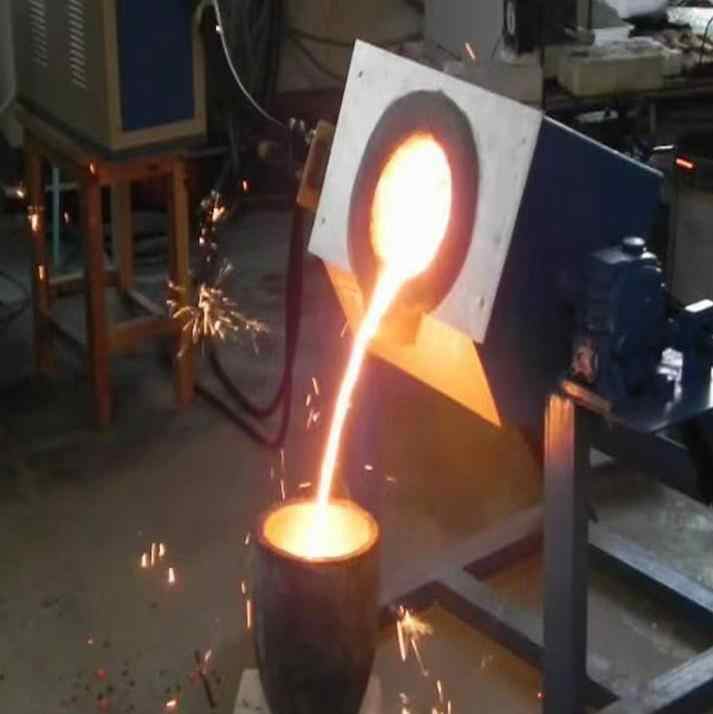
how to build a gold smelting furnace
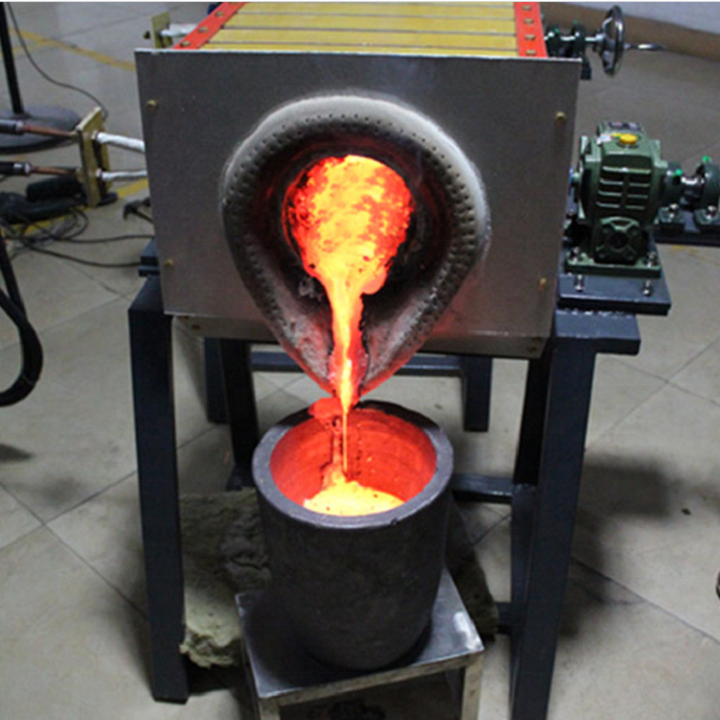
How to Build a Gold Smelting Furnace A Step-by-Step Guide
Building a gold smelting furnace at home can be a rewarding project for hobbyists and professionals alike. A well-constructed furnace allows you to melt gold and other metals efficiently, facilitating the refining process. This guide will provide you with the necessary steps and materials to build your own gold smelting furnace.
Understanding the Basics
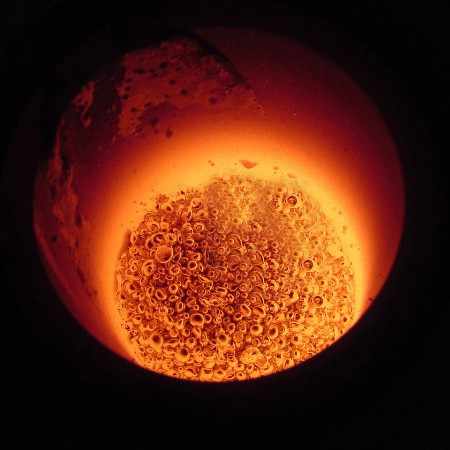
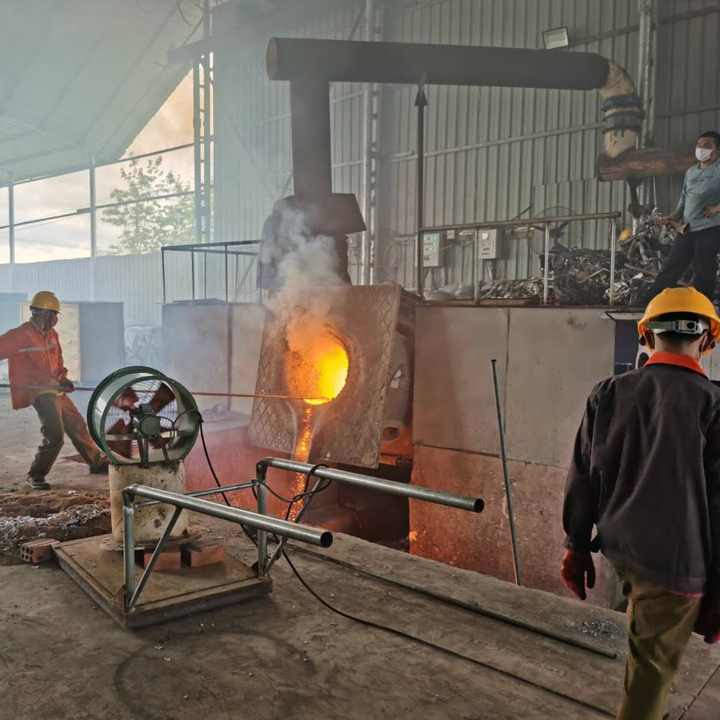
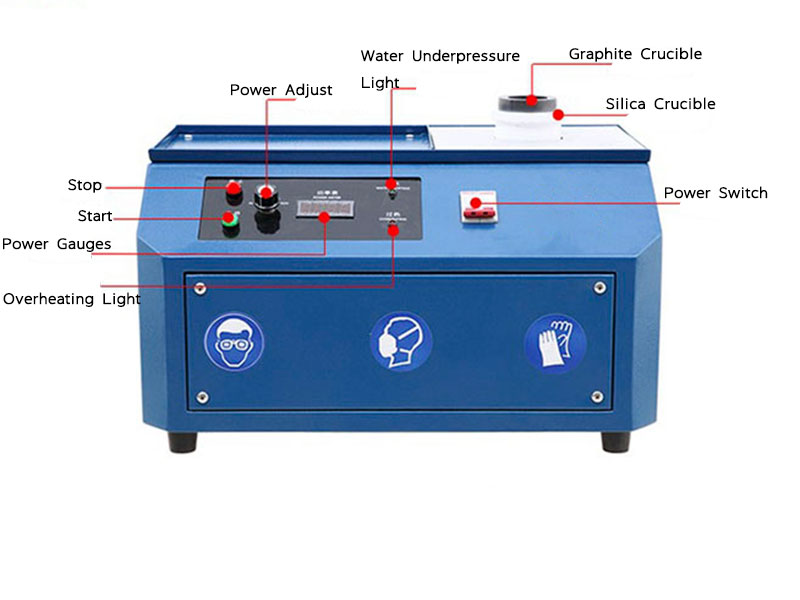
Before you start building your furnace, it’s important to understand its components and function. A gold smelting furnace needs to reach high temperatures (around 1,064°C or 1,947°F) to effectively melt gold. The furnace should be insulated to maintain heat and protect the surrounding environment.
Materials Needed
To build a gold smelting furnace, you will require the following materials:
- Firebricks: These are essential for constructing the furnace walls and providing insulation.
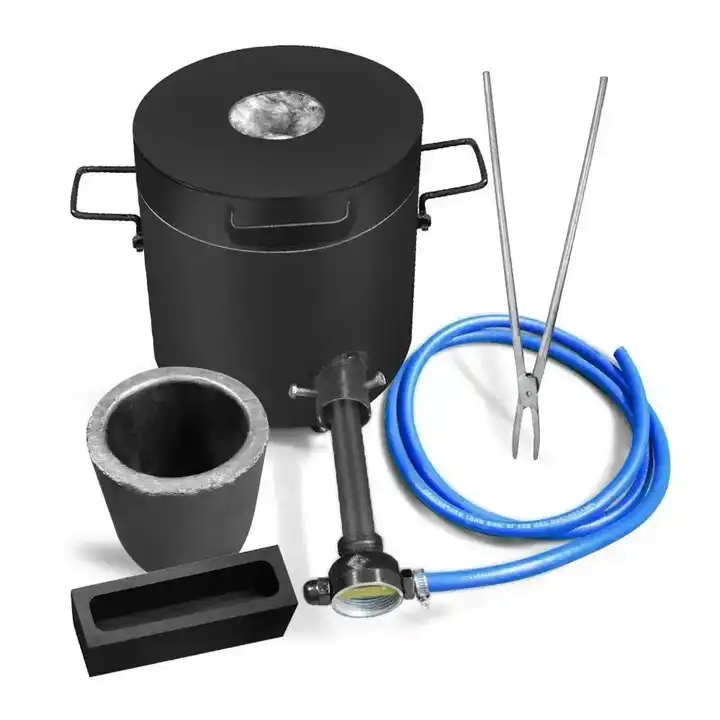
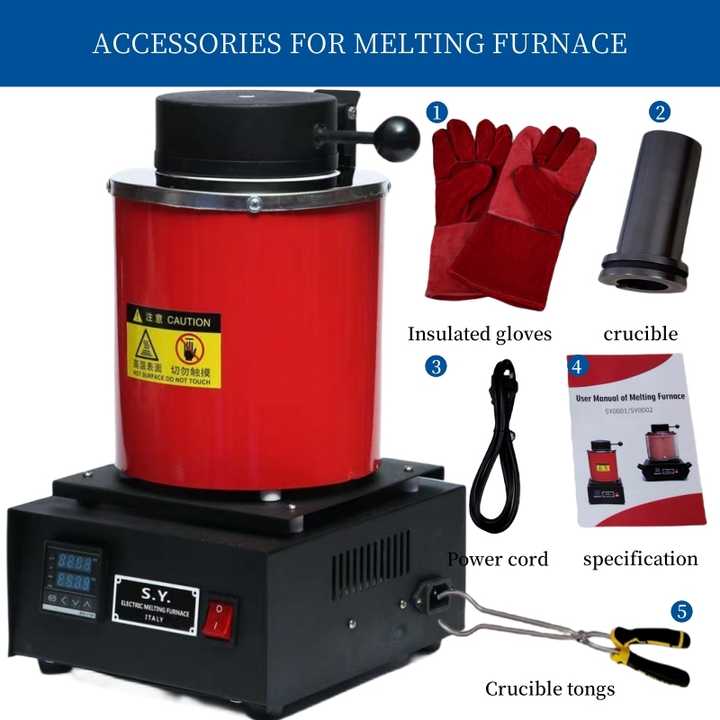
- A Metal Container: A steel or iron container to hold the gold while it melts.
- Burner: A propane or natural gas burner to provide the necessary heat.
- Refractory Cement: This high-temperature cement helps secure the firebricks and adds insulation.
- Thermocouple: For monitoring temperature, ensuring you reach the required melting point.
- Safety Equipment: Gloves, goggles, and face shields for personal protection.
Step-by-Step Instructions
Step 1: Design Your Furnace
Start by sketching a design for your furnace. A simple rectangular shape with a removable top works well. Ensure your design includes sufficient space for the burner and the crucible.
Step 2: Construct the Base
Use firebricks to build the base of your furnace. Lay them out in a rectangular shape, leaving room for air circulation. The base should be sturdy enough to support the weight of the furnace and any materials you will place inside.
Step 3: Build the Walls
Continue building the walls using firebricks. Stack the bricks in a staggered pattern to increase stability. Make sure the walls are at least 4 to 6 inches thick for effective insulation.
Step 4: Create the Top Opening
Leave an opening at the top of the furnace for the crucible and burner. This design allows you to easily insert and remove materials. The opening should be large enough to accommodate the crucible but small enough to minimize heat loss.
Step 5: Install the Burner
Attach your propane or natural gas burner to the furnace. Ensure it is positioned to provide even heat distribution. Secure it in place with refractory cement, sealing any gaps to prevent gas leaks.
Step 6: Insulate the Furnace
Apply refractory cement to the outside of the firebrick walls. This will help insulate the furnace and retain heat. Allow the cement to cure according to the manufacturer’s instructions.
Step 7: Add Temperature Monitoring
Install a thermocouple or temperature gauge to monitor the furnace’s internal temperature. This is crucial for ensuring that you reach the necessary melting point for gold.
Step 8: Test Your Furnace
Before using your furnace for actual smelting, conduct a test run. Heat it up to check for any weaknesses or leaks. Make any necessary adjustments to ensure it functions efficiently.
Safety Precautions
When building and operating your gold smelting furnace, always prioritize safety:
- Wear Protective Gear: Use gloves, goggles, and face shields to protect yourself from heat and splashes.
- Ensure Proper Ventilation: Work in a well-ventilated area to avoid inhaling harmful fumes.
- Keep Flammable Materials Away: Make sure your workspace is free from flammable materials.
Building a gold smelting furnace can be a fulfilling project that enhances your gold refining capabilities. By following this guide and adhering to safety precautions, you can create a functional furnace that meets your needs. With the right tools and a bit of patience, you’ll be ready to embark on your gold smelting journey.