Releated Products
-
-
-
-
-
-
-
-
-
-
how to build diy smelting foundry for silver
How to Build a DIY Smelting Foundry for Silver
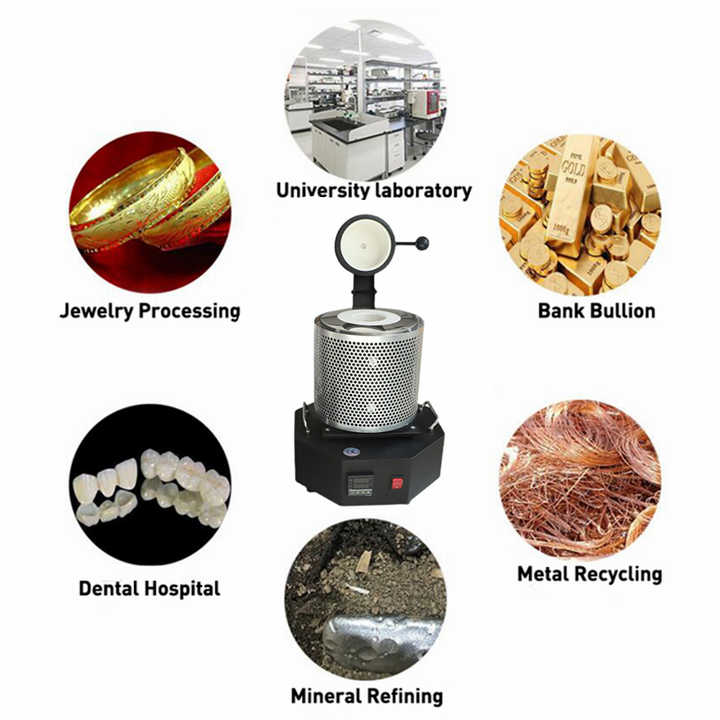
Building a DIY smelting foundry for silver can be a rewarding project for metalworking enthusiasts and hobbyists. This guide will take you through the steps to create your own smelting foundry, enabling you to melt and refine silver safely and effectively.
Understanding the Basics of a Smelting Foundry
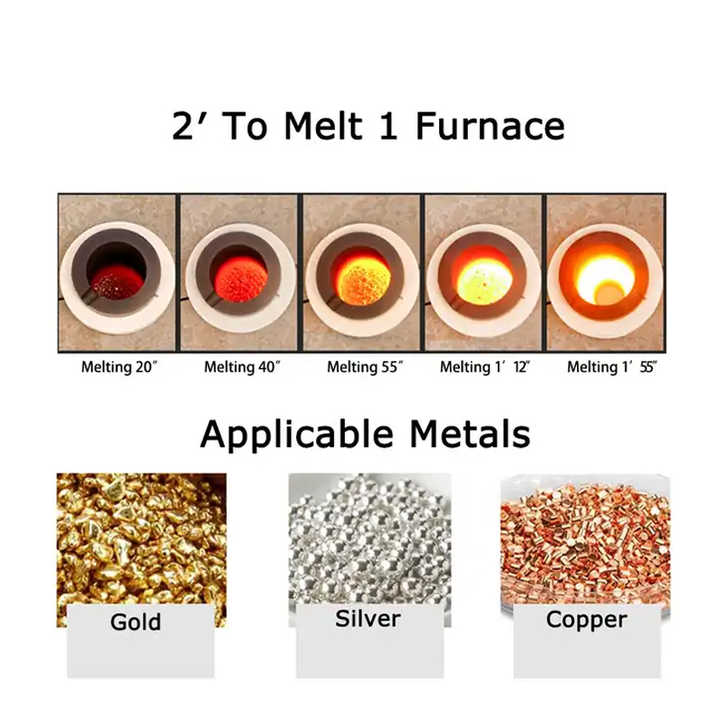
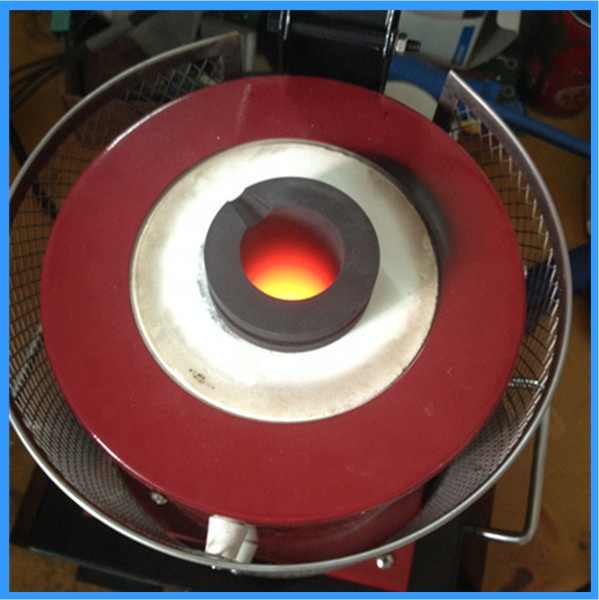
A smelting foundry is a facility where metal is melted and purified. For silver, achieving the necessary temperatures (around 1,763°F or 961.8°C) is crucial. A DIY foundry typically consists of a furnace, crucible, and safety equipment.
Materials Needed
To build your DIY smelting foundry, you will need the following materials:
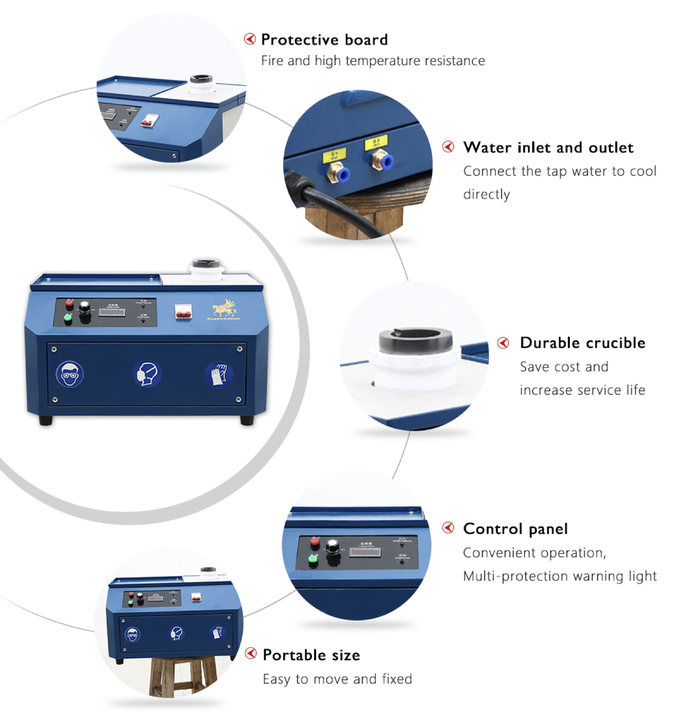
Furnace Materials
- Insulation Material: Firebrick or ceramic fiber insulation is essential to withstand high temperatures.
- Metal Shell: A metal container, such as a steel drum or old propane tank, will serve as the outer shell.
- Heat Source: A propane torch or a small propane burner will provide the necessary heat.
Crucible
- Crucible: A crucible made of graphite or ceramic is required to hold the molten silver. Ensure it is rated for high temperatures.
Additional Supplies
- Flux Materials: Borax or soda ash helps purify the silver during the melting process.
- Safety Gear: Gloves, goggles, and a face shield are essential for protection.
Step-by-Step Guide to Building Your Foundry
Step 1: Construct the Furnace
- Create the Base: Start by selecting a sturdy base for your foundry. A metal table or a concrete slab is ideal.
- Assemble the Shell: If using a steel drum, cut a top opening for the furnace and ensure it’s clean and free from rust. For a propane tank, remove the top and any fittings, ensuring it’s safe for use.
- Insulate: Line the interior of the furnace with firebrick or ceramic insulation. This will help retain heat and protect the outer shell from damage.
Step 2: Install the Heat Source
- Position the Burner: Install the propane burner at the base of the furnace, ensuring it is secure and properly positioned for optimal airflow.
- Check the Setup: Make sure the burner can be easily accessed for refueling and maintenance.
Step 3: Prepare the Crucible
- Select the Crucible: Choose a crucible that fits comfortably inside your furnace. Ensure it is made of material that can withstand high temperatures.
- Clean the Crucible: Before use, clean the crucible thoroughly to remove any contaminants.
Step 4: Safety Precautions
- Ventilation: Set up your foundry in a well-ventilated area to avoid the buildup of harmful gases.
- Protective Equipment: Always wear gloves, goggles, and a face shield when working with the foundry. Keep a fire extinguisher nearby in case of emergencies.
Using Your DIY Smelting Foundry
Preparing to Melt Silver
- Sort Your Silver: Gather your scrap silver, removing any non-silver components.
- Add Flux: Place the silver in the crucible, adding an appropriate amount of flux to help purify the melt.
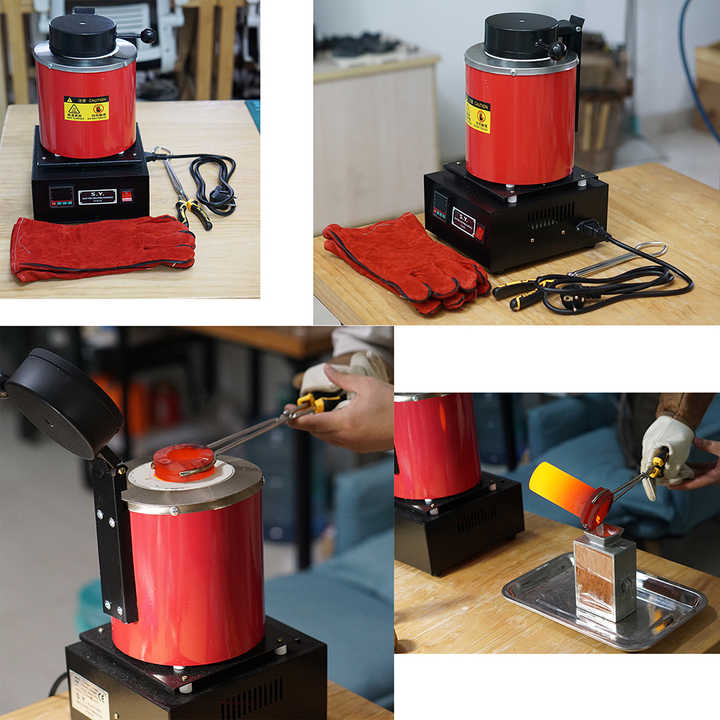
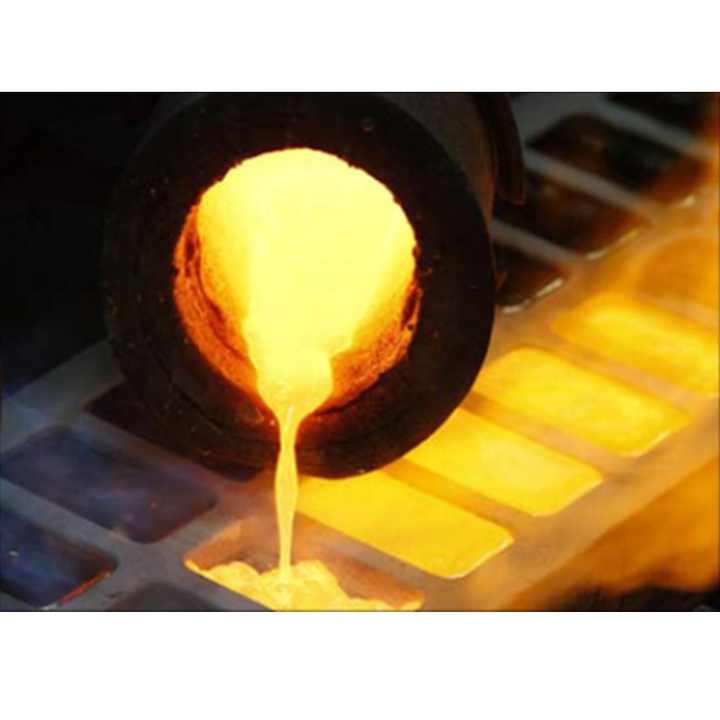
Melting Process
- Heat the Furnace: Turn on the propane burner and allow the furnace to heat up to the required temperature.
- Monitor the Melt: Carefully watch the silver as it melts, ensuring that the temperature remains consistent.
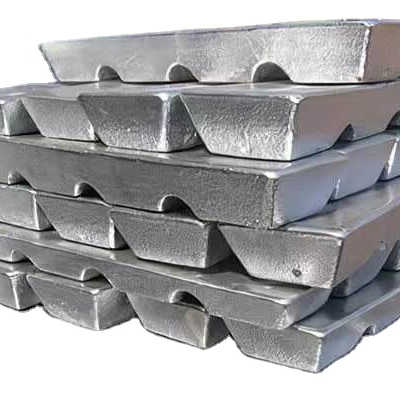
Pouring the Silver
- Prepare a Mold: While the silver is melting, prepare a mold to pour the molten silver into once it is ready.
- Pour Carefully: Using tongs, carefully remove the crucible from the furnace and pour the molten silver into the mold.
Building a DIY smelting foundry for silver is an exciting project that allows you to explore the art of metalworking. By following these steps and prioritizing safety, you can create a functional foundry that will enable you to melt and refine silver at home. With practice and experimentation, you can refine your techniques and enjoy the satisfaction of working with precious metals.