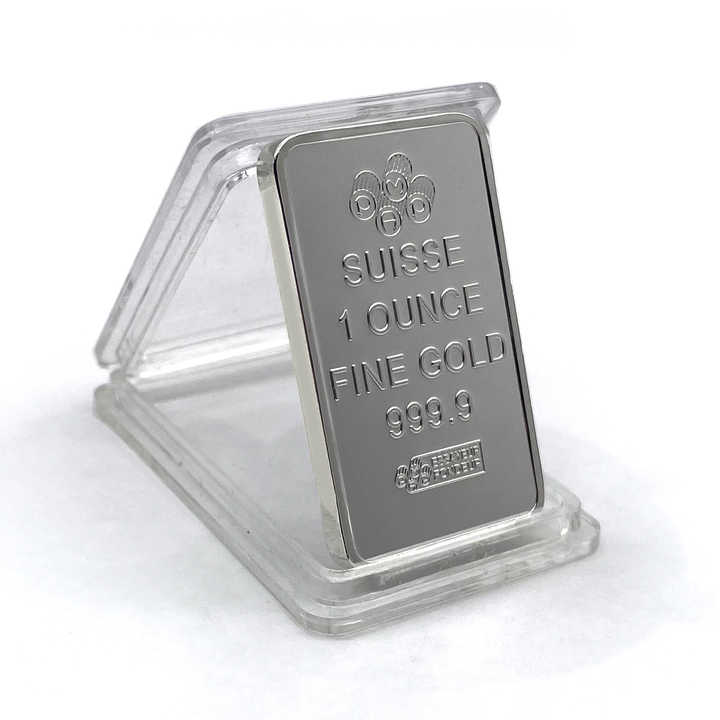
Releated Products
-
-
-
-
-
-
-
-
-
-
silver smelting at home
Smelting silver at home can be a rewarding and fascinating hobby. Whether you’re refining scrap silver or experimenting with metalworking, smelting provides a hands-on way to create pure silver from raw materials. Although smelting is typically done in large industrial facilities, it’s possible to adapt the process for small-scale, at-home use with the right tools and safety precautions. In this guide, we will cover the essentials of silver smelting at home, the required equipment, and the steps to follow.
Understanding Silver Smelting at Home
Silver smelting at home involves melting down silver and separating it from any impurities or non-silver elements. It requires intense heat to melt the metal, typically reaching temperatures around 1,763 degrees Fahrenheit (961 degrees Celsius). For home smelting, this process is generally used for recovering silver from jewelry, coins, or scrap, or for small-scale refining from ore or other sources.
While the setup and equipment may seem complex at first, with the right preparation, smelting can be done safely and effectively in a home environment.
Equipment Needed for Silver Smelting at Home
To smelt silver at home, you’ll need a few essential tools and materials. The following items are crucial for ensuring the process runs smoothly:
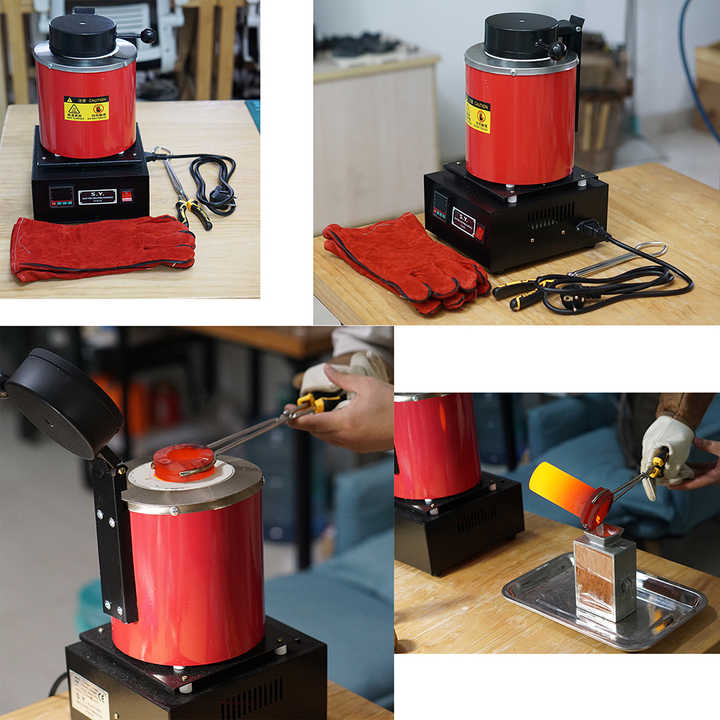
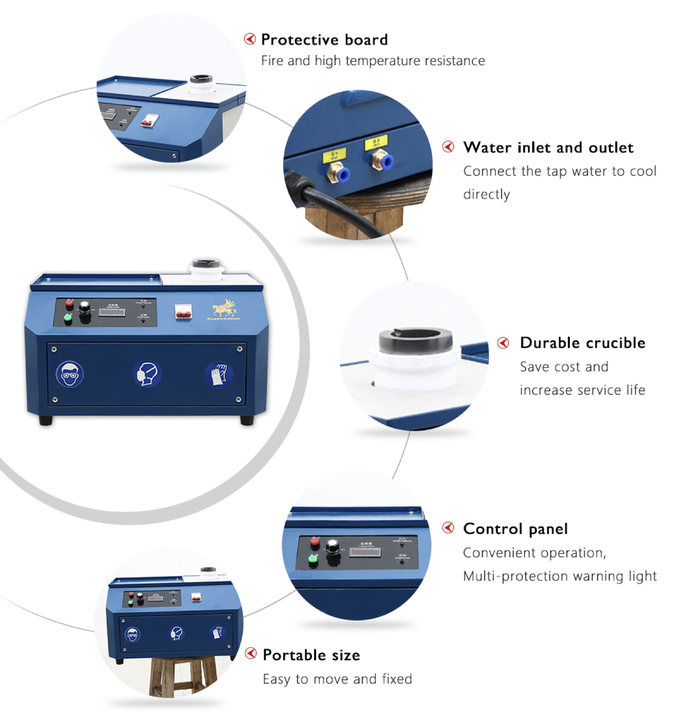
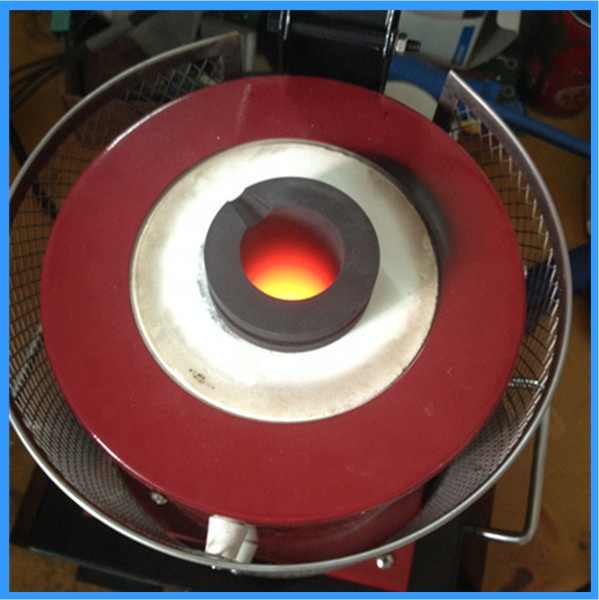
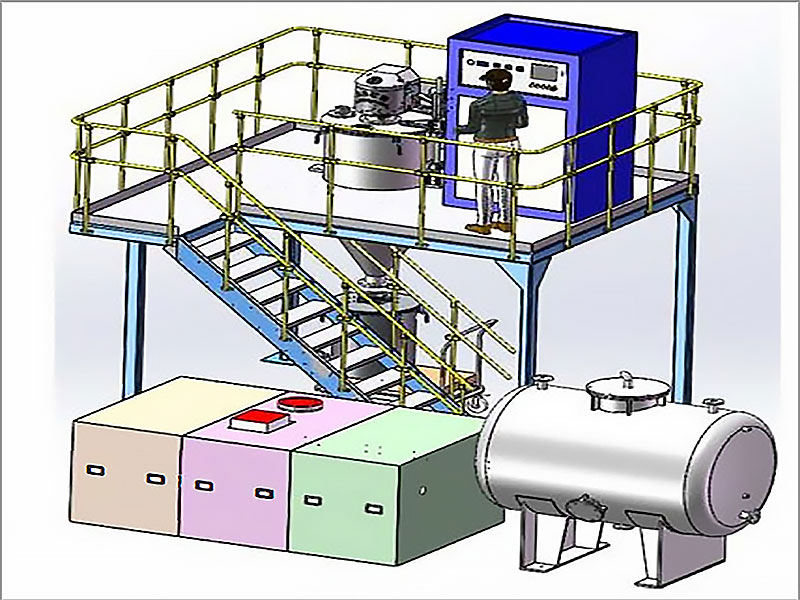
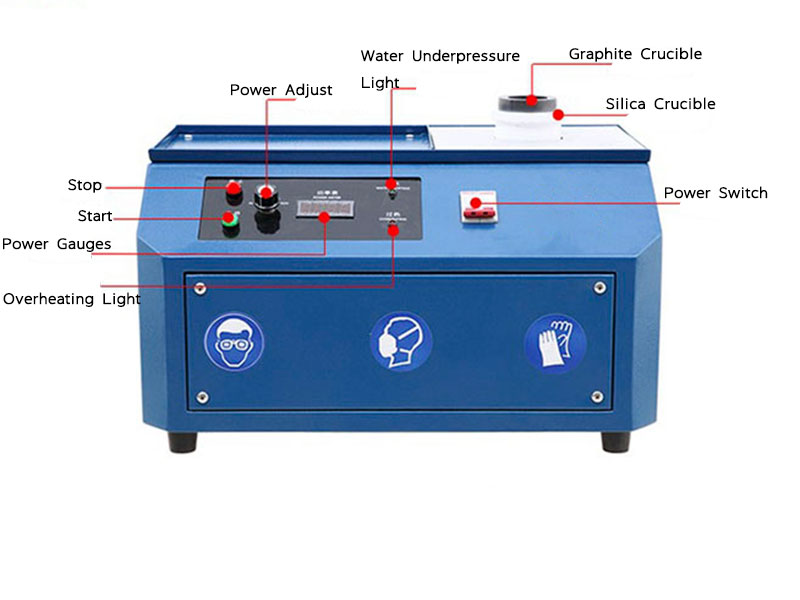
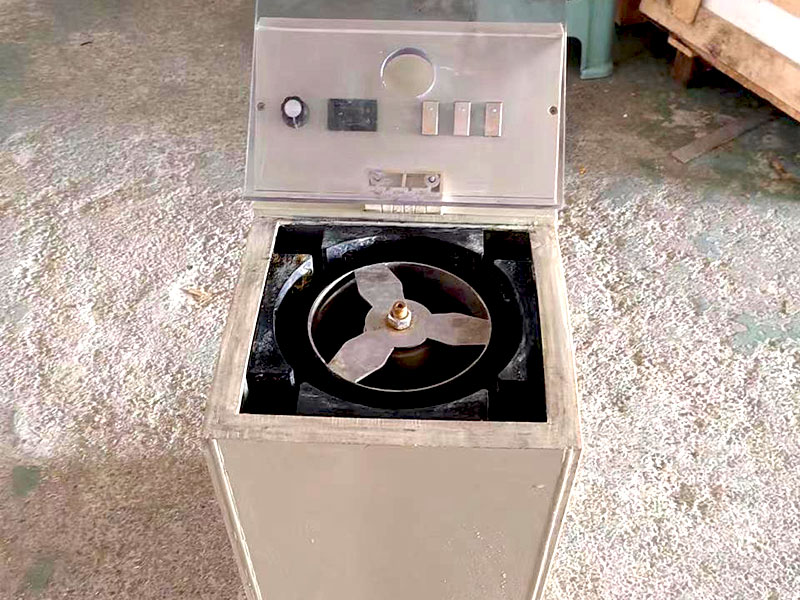
Furnace or Kiln
A furnace or kiln capable of reaching temperatures high enough to melt silver is a key component. While industrial furnaces are generally large and expensive, there are smaller versions specifically designed for hobbyists. Propane-powered or electric furnaces are popular choices for home smelting, offering sufficient heat while being relatively easy to operate.
Crucible
A crucible is a heat-resistant container used to hold the silver during the smelting process. Crucibles are typically made from materials like graphite or ceramic, as they can withstand high temperatures without cracking. Choose a crucible that is appropriate for the amount of silver you plan to smelt.
Flux
Flux is used in silver smelting to help separate impurities from the molten silver. Common flux materials include borax, soda ash, and silica. These substances lower the melting point of the impurities and allow them to rise to the surface, forming a layer of slag that can be removed easily.
Tongs and Safety Gear
Handling molten metal requires specialized tongs to manipulate the crucible and pour the silver. Additionally, you should wear protective gear such as heat-resistant gloves, a face shield, and protective clothing to ensure safety during the smelting process.
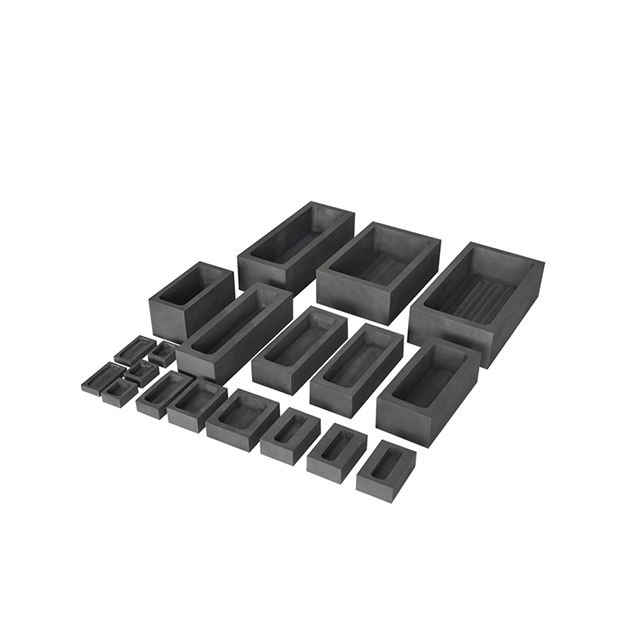
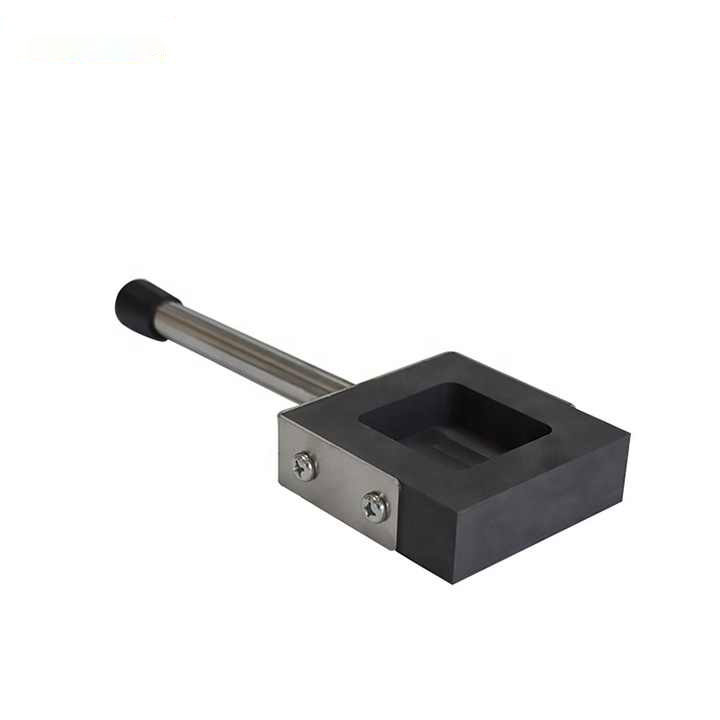
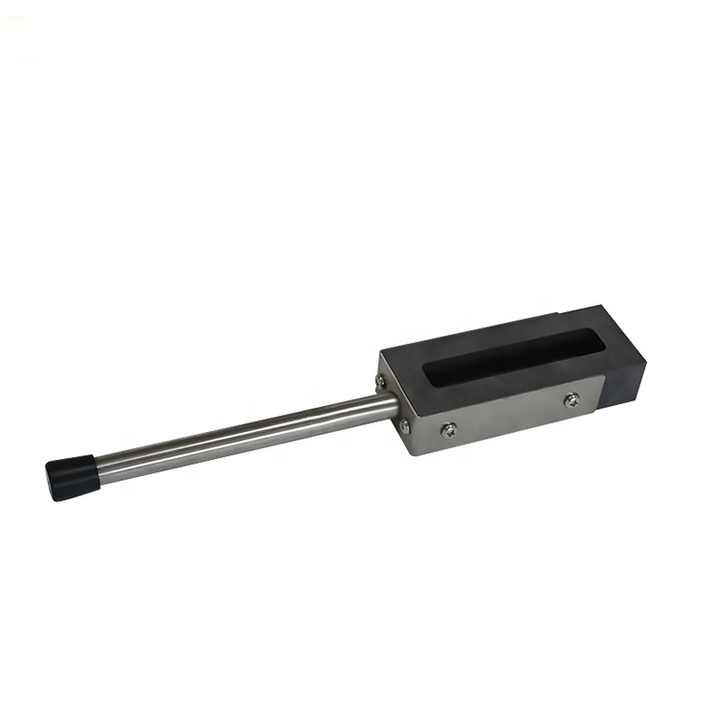
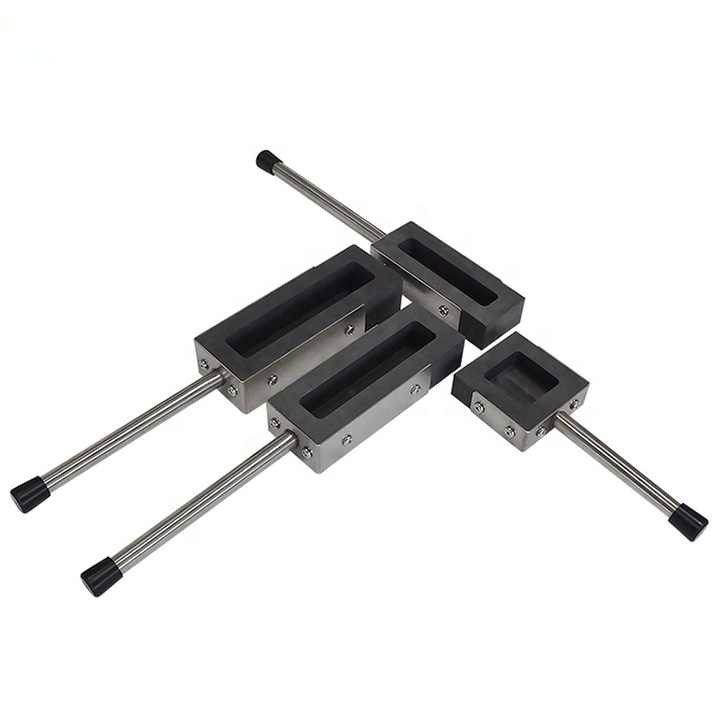
Mold
Once the silver has been melted and purified, it is poured into a mold to cool and solidify. Molds come in a variety of shapes and sizes, from ingots to custom designs. Choose a mold that suits your needs, whether you’re creating silver bars or artistic pieces.
The Silver Smelting Process at Home
Once you’ve gathered all your equipment, it’s time to begin the silver smelting process. Here is a step-by-step breakdown of how to smelt silver at home:
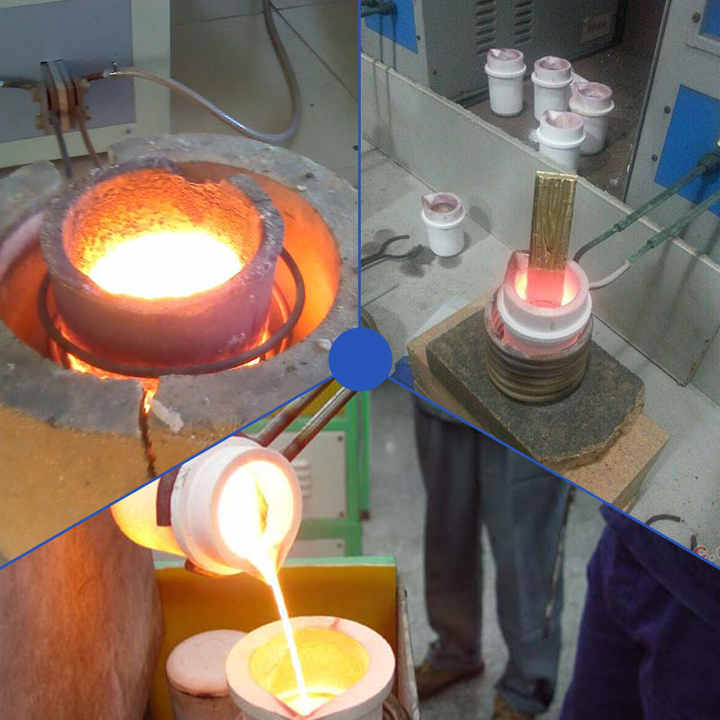
1. Preparing the Furnace and Crucible
Start by setting up your furnace in a well-ventilated outdoor area, as the process can produce harmful fumes. Insert the crucible into the furnace, making sure it’s clean and dry. Preheat the furnace to the temperature required for melting silver (1,763 degrees Fahrenheit or 961 degrees Celsius).
2. Adding Silver and Flux
Place the silver you wish to smelt into the crucible. If you’re smelting scrap or jewelry, ensure that it is as clean as possible to minimize impurities. Add the flux material on top of the silver. The flux will help with the separation of impurities and assist in producing pure silver.
3. Melting the Silver
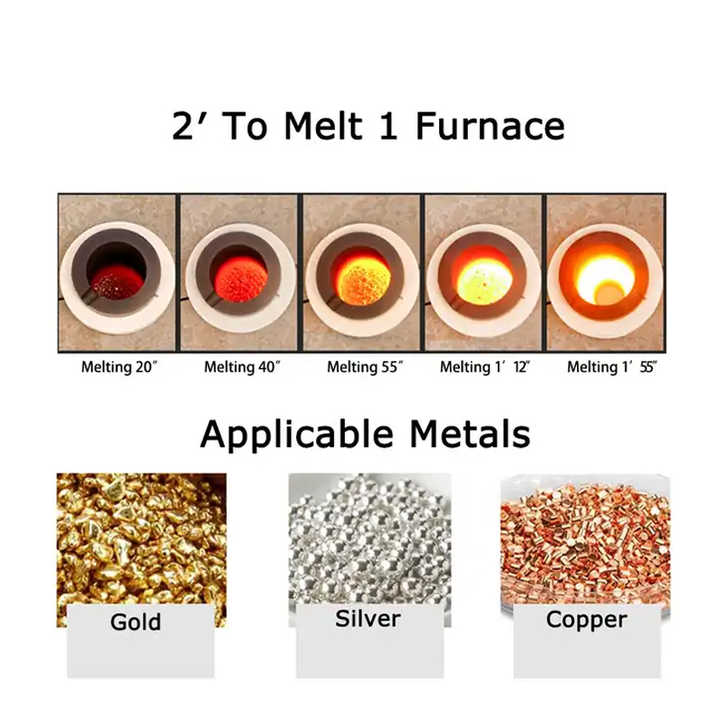
Once the furnace has reached the appropriate temperature, the silver will begin to melt. This process may take 10-20 minutes depending on the amount of silver and the type of furnace. As the silver melts, impurities will separate and rise to the surface, forming a layer of slag.
4. Removing Impurities
Using tongs, carefully skim off the layer of slag from the surface of the molten silver. The slag contains impurities that have been removed by the flux. Be sure to work quickly but safely, as the slag hardens rapidly as it cools.
5. Pouring the Molten Silver
Once the silver is free from impurities, it’s time to pour it into your mold. Using heat-resistant tongs, carefully remove the crucible from the furnace and pour the molten silver into the mold. Allow the silver to cool and solidify for several minutes before handling.
6. Final Cleaning and Polishing
After the silver has cooled, remove it from the mold. The resulting silver piece may still have some minor imperfections or residue from the smelting process. You can clean and polish the silver to achieve the desired finish.
Safety Considerations for Home Silver Smelting
While silver smelting at home can be an enjoyable hobby, it’s important to take certain safety measures to protect yourself and those around you.
Work in a Well-Ventilated Area
Smelting silver produces fumes, particularly if you are working with scrap that may contain non-silver materials. Always smelt in a well-ventilated outdoor area or in a workshop equipped with proper ventilation.
Wear Protective Gear
Always wear appropriate safety gear, including heat-resistant gloves, a face shield, and protective clothing. This is essential when working with high-temperature materials and molten metal.
Be Aware of Surroundings
Keep flammable materials away from your smelting area and ensure that there are no distractions while you’re working. Having a fire extinguisher on hand is also recommended in case of an emergency.
The Advantages of Silver Smelting at Home
Smelting silver at home comes with several benefits. First, it allows you to recycle and refine old or scrap silver into new pieces, reducing waste and creating opportunities for creativity. Home smelting can also be cost-effective, especially for hobbyists who enjoy metalworking or jewelry making.
Additionally, smelting at home provides a deeper understanding of metallurgy and the properties of silver, making it a great learning experience for those interested in refining their skills.
Silver smelting at home is an exciting and rewarding process that allows you to turn scrap silver or raw materials into pure, usable silver. With the right equipment, preparation, and safety precautions, you can smelt silver safely and efficiently in the comfort of your home. Whether you’re smelting for artistic projects, refining scrap, or simply learning about metalworking, silver smelting at home offers a unique opportunity to explore the world of metallurgy.