Releated Products
-
-
-
-
-

-
-
-
-
-
smelting gold ore at home
Smelting gold ore at home can be an engaging and rewarding process for hobbyists or small-scale miners looking to recover gold. While smelting at home requires a basic understanding of metallurgy, the right tools, and safety precautions, it is possible to achieve good results without industrial-scale equipment. This guide will walk you through the steps of smelting gold ore at home, the necessary equipment, and key safety considerations.
What Is Gold Ore Smelting?
Smelting gold ore is the process of extracting gold from its ores by applying heat and sometimes using chemical additives. This process separates the gold from other materials, including rocks, minerals, and impurities. At home, the process can be simplified by using a small furnace and a crucible to melt the gold ore. During the smelting process, flux, a material such as borax or soda ash, is added to help remove impurities and ensure that only the pure gold is left behind.
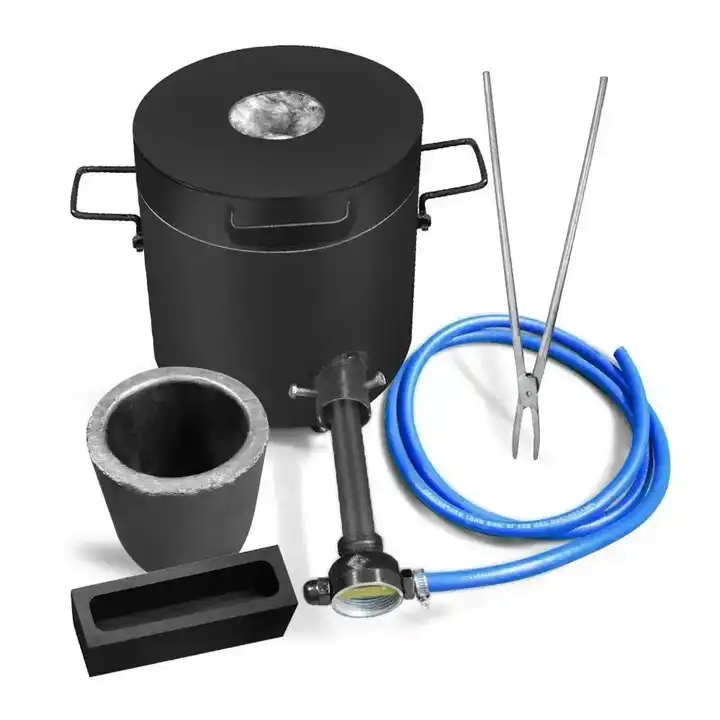
Required Tools and Equipment
Smelting gold ore at home requires several essential tools and materials. Here’s a list of what you’ll need:
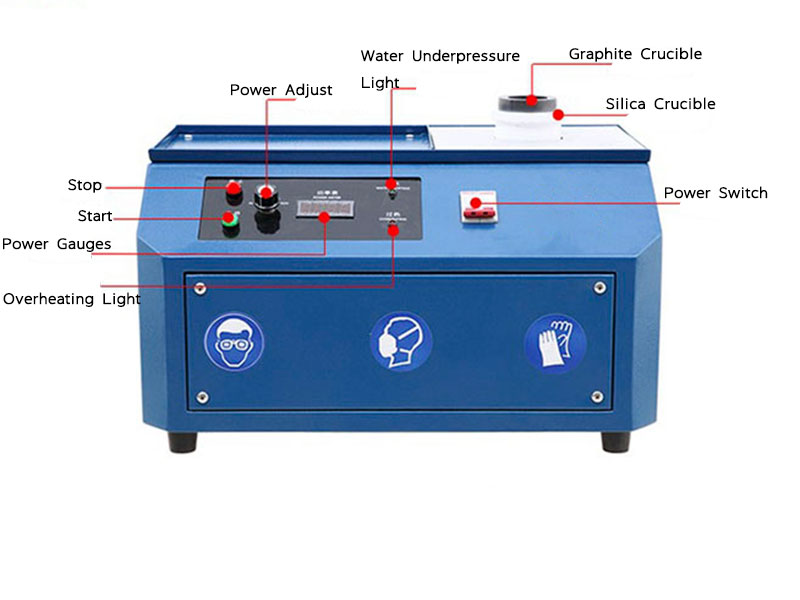
- Crucible: A heat-resistant container, typically made of ceramic or graphite, used to melt metals. The crucible holds the gold ore while it is heated.
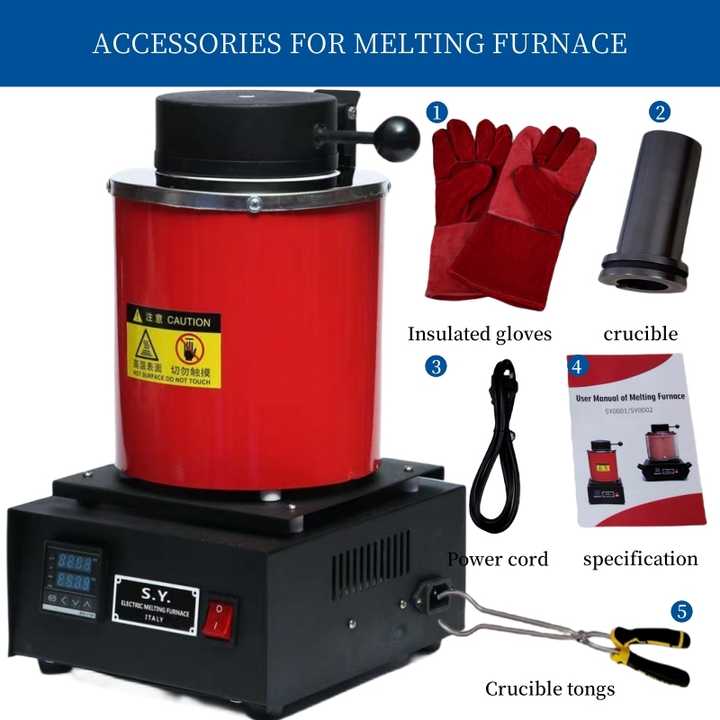
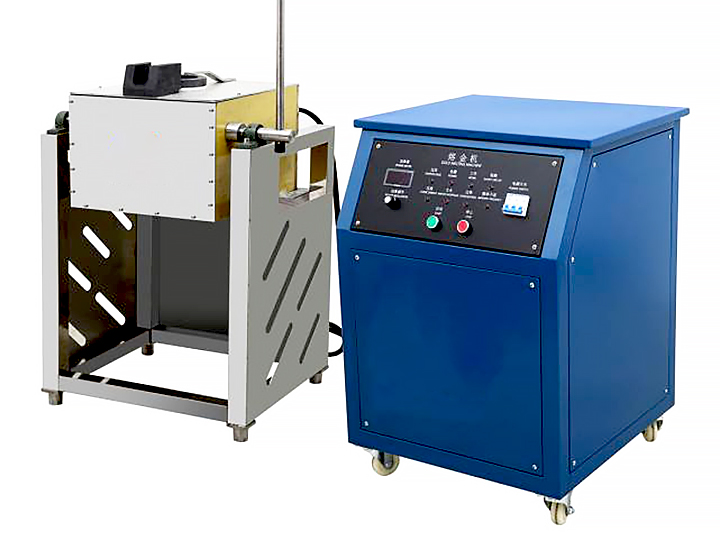
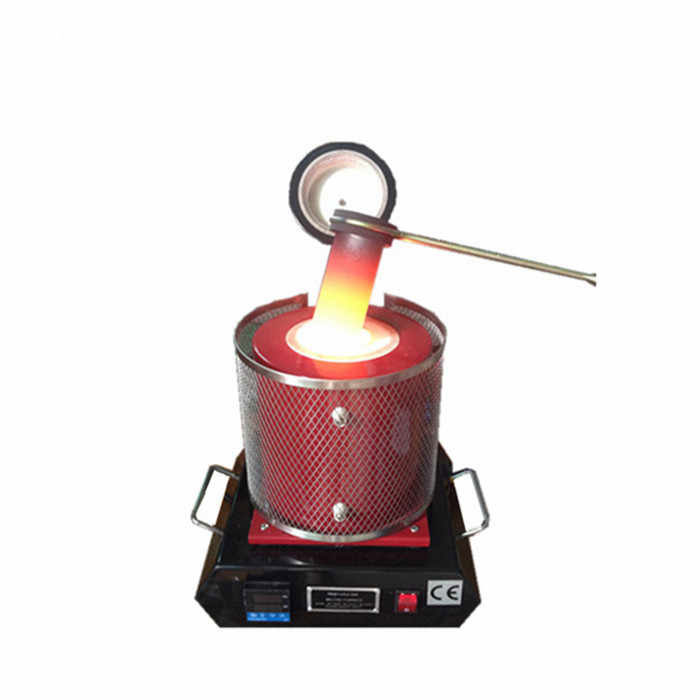
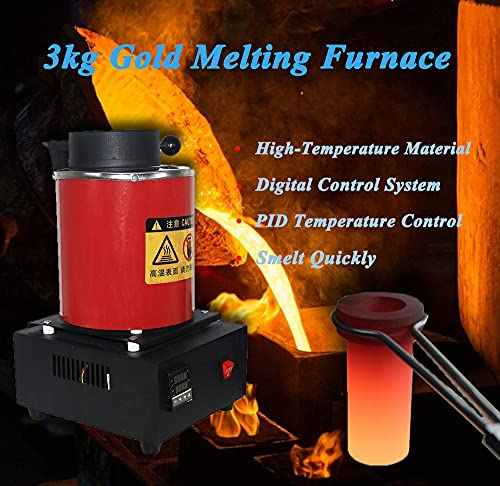
- Smelting Furnace: A small furnace capable of reaching the high temperatures necessary to melt gold (about 1,064°C or 1,948°F). Many hobbyists use propane or electric furnaces for home smelting.
- Flux: A chemical substance, such as borax or soda ash, that helps separate impurities from the molten gold. Flux plays a crucial role in ensuring the purity of the final product.
- Tongs: Used to handle the hot crucible safely.
- Protective Gear: This includes heat-resistant gloves, safety goggles, and a fireproof apron to protect against high temperatures and potential splashes of molten metal.
The Gold Smelting Process
1. Preparing the Gold Ore
Before starting the smelting process, the gold ore must be prepared. Begin by crushing the ore into small, manageable pieces to increase the surface area, making it easier to melt. You can use a mortar and pestle or a mechanical crusher for this step. Once the ore is crushed, it is ready for smelting.
2. Loading the Crucible
Place the crushed gold ore into the crucible. Add an appropriate amount of flux, which helps bind impurities together. Flux is essential because it separates non-metallic materials from the molten gold, allowing you to obtain purer results. Borax and soda ash are common fluxes used for this purpose.
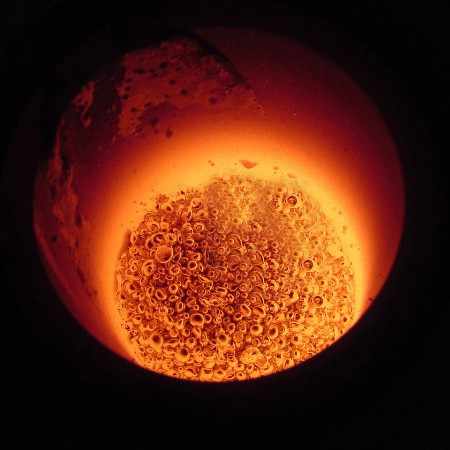
3. Heating the Ore
With the gold ore and flux loaded into the crucible, place the crucible inside the smelting furnace. Heat the furnace until the temperature reaches the gold melting point, around 1,064°C (1,948°F). Depending on your furnace, this may take several minutes to half an hour.
As the furnace heats, the gold ore will begin to melt, and the flux will start bonding with the impurities. Stirring the molten material occasionally can help ensure that the flux interacts thoroughly with the impurities.
4. Removing the Impurities
Once the gold has melted, and the flux has done its job, the impurities will float to the surface of the molten metal. Using a skimming tool, carefully remove the slag (the impurities) from the surface of the liquid gold. What remains in the crucible should be pure gold.
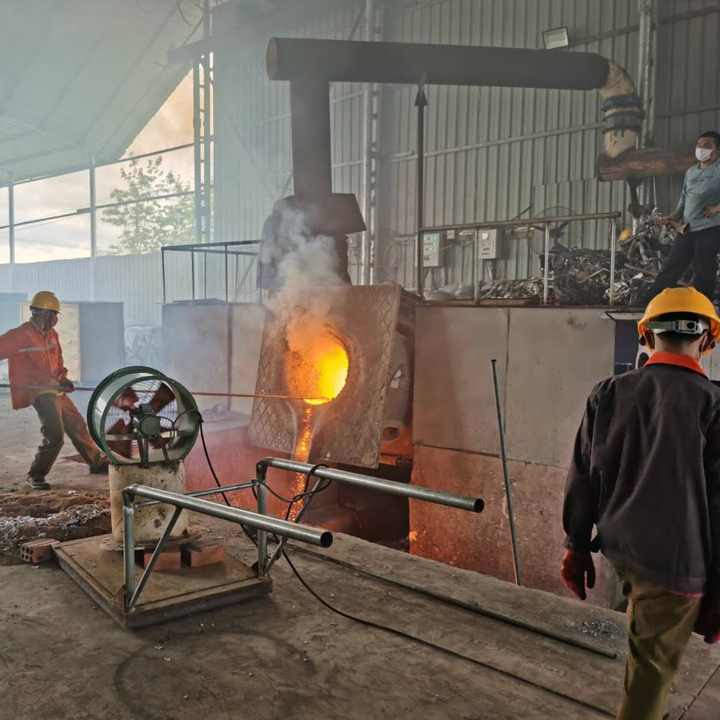
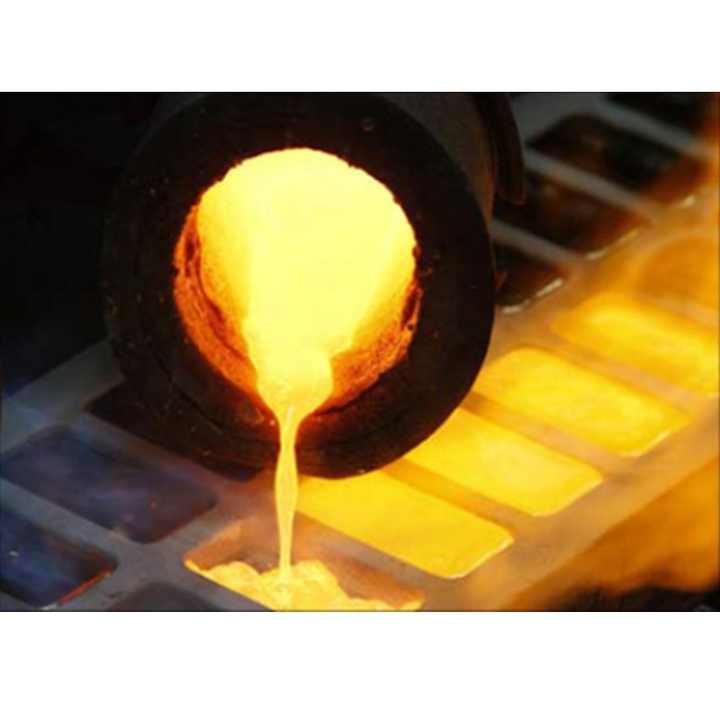
5. Pouring and Cooling
Once you have skimmed off the impurities, carefully remove the crucible from the furnace using tongs. Pour the molten gold into a pre-prepared mold. Allow the gold to cool and solidify. After it has cooled, you will have a gold bar or nugget that can be further refined if needed.
Safety Precautions for Home Smelting
Smelting gold ore at home involves working with extremely high temperatures, so it’s essential to follow strict safety measures:
- Use Proper Ventilation: Smelting generates fumes, especially if using flux or dealing with impurities. Perform the smelting process in a well-ventilated area or outdoors to avoid inhaling toxic gases.
- Wear Protective Gear: Always wear heat-resistant gloves, safety goggles, and protective clothing to prevent burns from molten metal and exposure to harmful substances.
- Handle Chemicals with Care: If you are using chemicals like borax, ensure you are handling them safely by wearing gloves and avoiding direct contact.
- Fire Safety: Keep a fire extinguisher nearby and make sure the smelting area is free of flammable materials. Working on a fire-resistant surface, such as concrete, is also a good idea.
The Advantages of Smelting Gold Ore at Home
There are several benefits to smelting gold ore at home:
- Cost-Effective: Smelting gold ore at home can be much cheaper than sending it to a refinery. For hobbyists, it can be a cost-efficient way to recover gold from small amounts of ore.
- Personal Control: When smelting gold ore at home, you have complete control over the process, including the materials you use and the purity of the final product.
- Educational Experience: Smelting at home offers a hands-on way to learn more about metallurgy, gold refining, and the history of mining practices.
Smelting gold ore at home can be a rewarding and cost-effective way to recover gold. With the right tools, materials, and safety precautions, even beginners can enjoy the process of turning raw gold ore into usable gold. Whether you are a hobbyist or an amateur miner, smelting gold ore at home offers a hands-on experience that gives you direct control over the refining process. Just remember, safety is paramount, and taking the proper precautions will ensure a successful and enjoyable smelting experience.