Releated Products
-
-
-
-
-
-
-
-
-
-
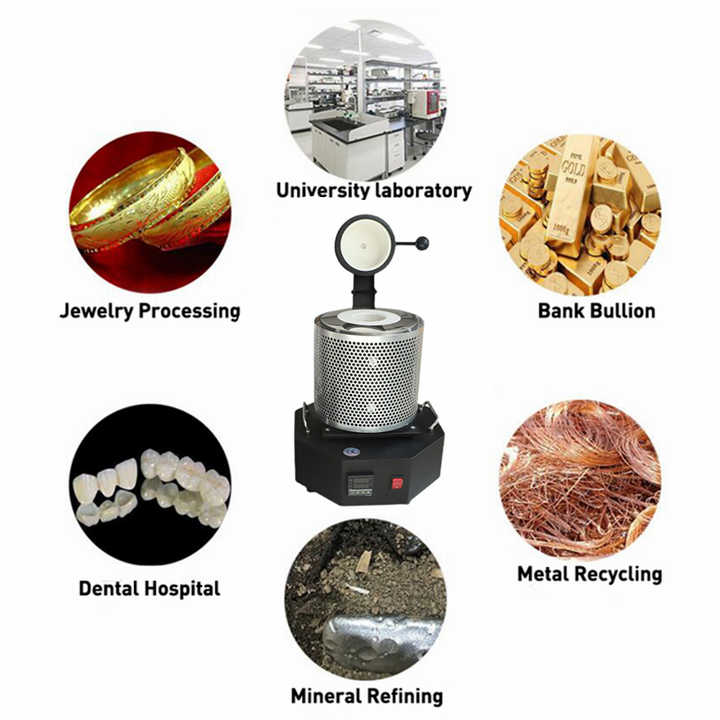
Smelting Silver For Stamping Jewelry Making
Smelting Silver For Stamping Jewelry Making
Smelting silver is a crucial process for jewelry makers who wish to create their own unique pieces from raw materials. Whether you’re a seasoned artisan or just starting out, understanding how to smelt silver can open up new possibilities in your craft. This article will guide you through the essential steps and considerations when smelting silver specifically for stamping jewelry making, using equipment provided by FRT Machinery.
Choosing the Right Silver for Smelting
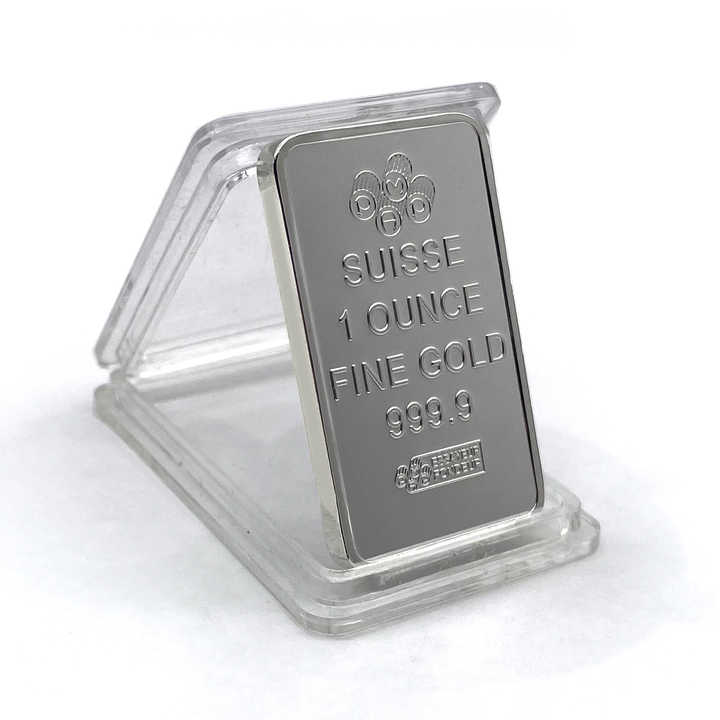
When it comes to selecting silver for smelting, purity is key. Fine silver (99.9%) and sterling silver (92.5%) are commonly used in jewelry making. Fine silver is softer and easier to work with, making it ideal for intricate designs. Sterling silver, on the other hand, contains alloys which make it more durable. For stamping jewelry making, fine silver might be preferable due to its malleability, allowing for detailed stamping without the risk of breaking or cracking.
Preparing Your Workspace for Smelting Silver
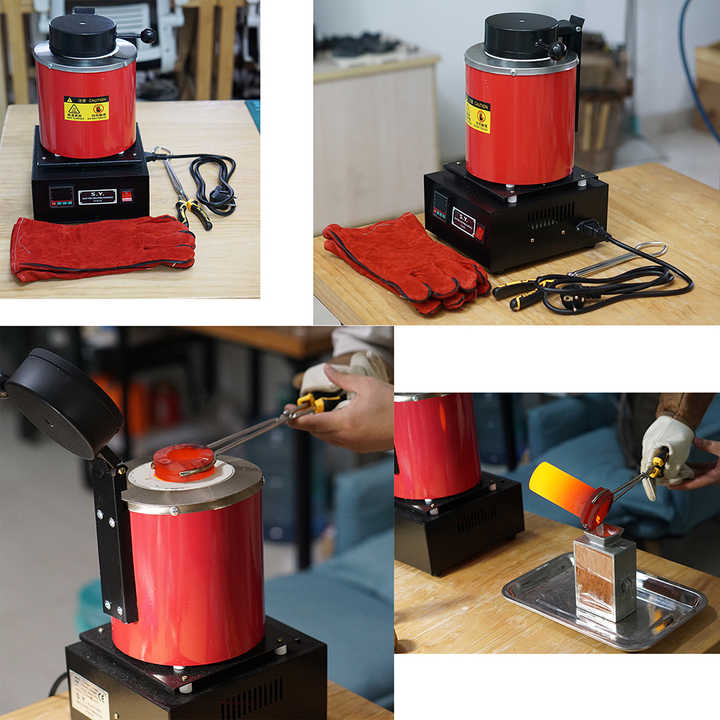
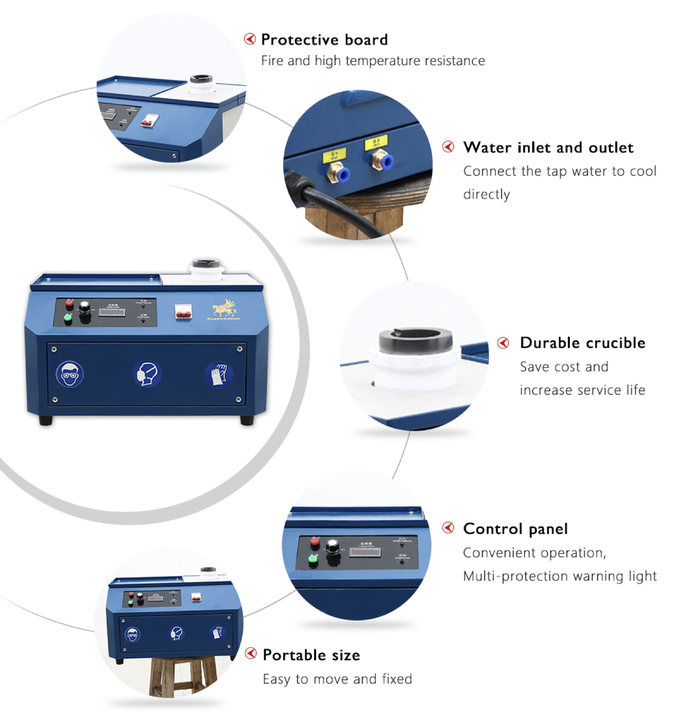
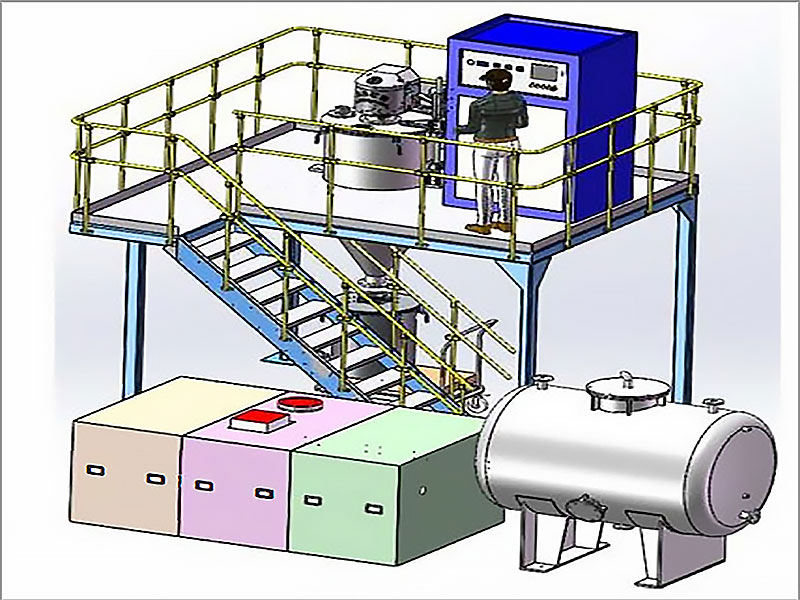
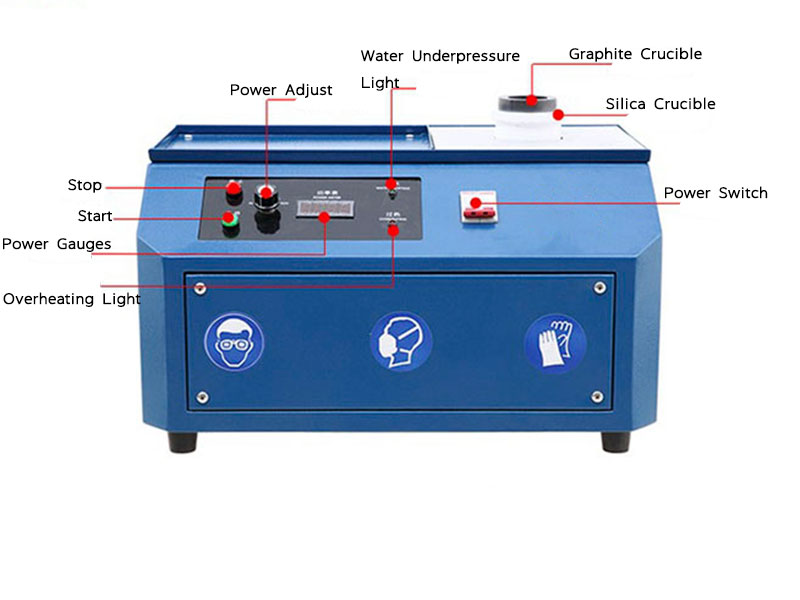
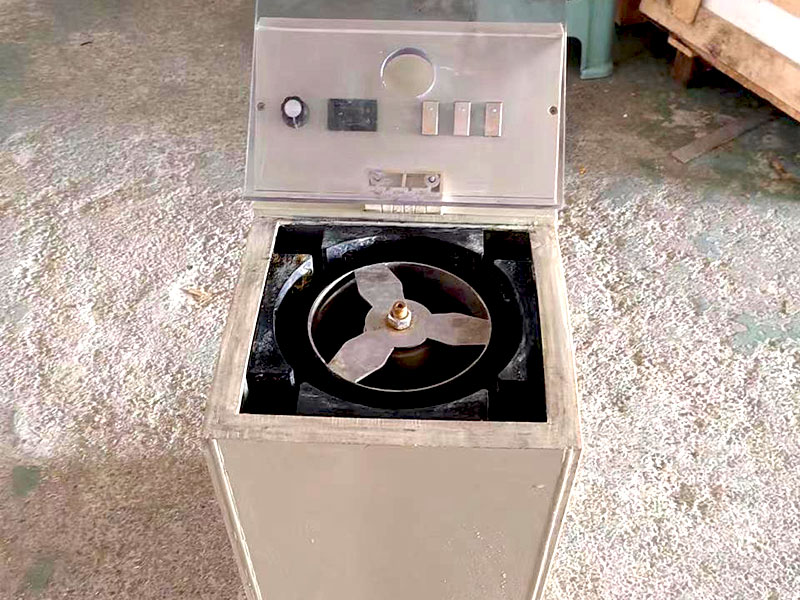
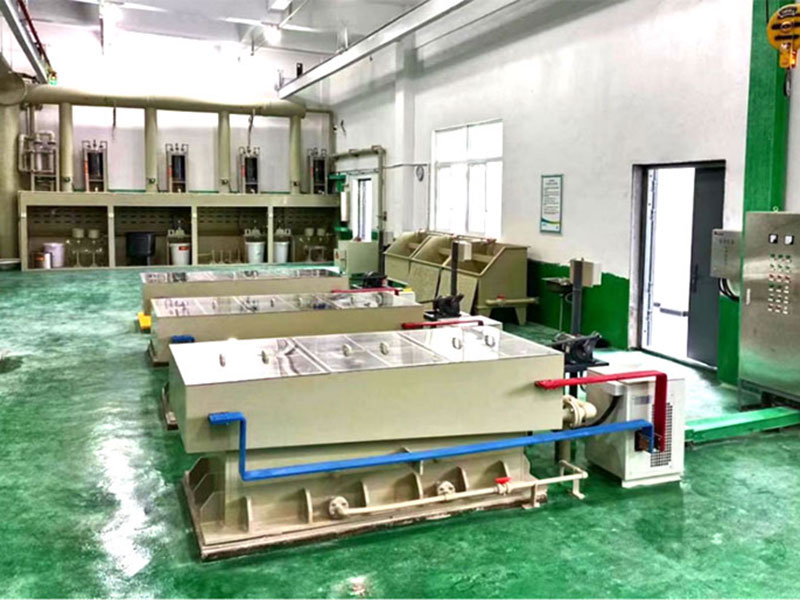
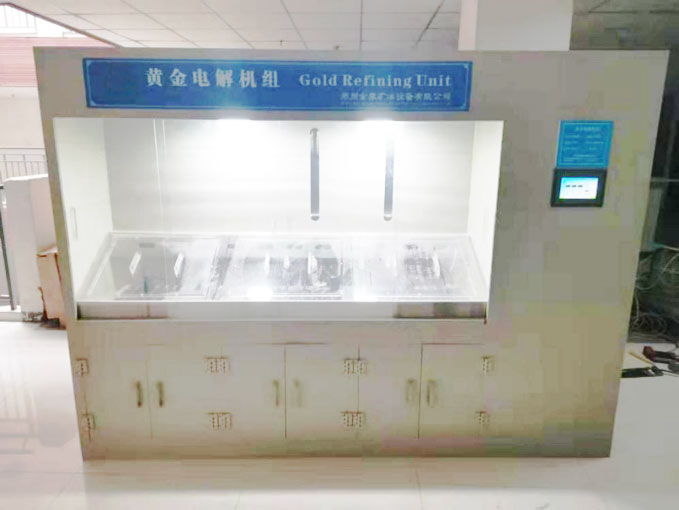
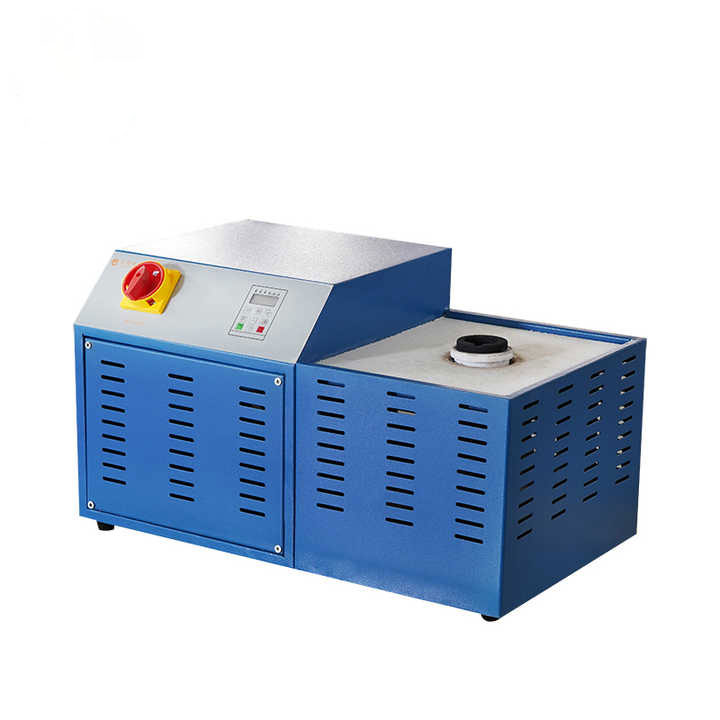
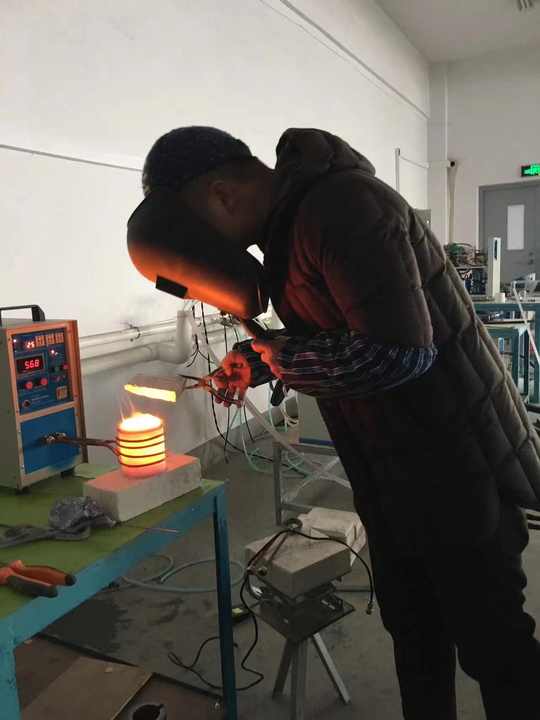
Safety should always come first when working with molten metals. Before you begin, ensure your workspace is well-ventilated and free from flammable materials. Wear protective gear such as heat-resistant gloves, goggles, and a face mask to protect against fumes and splashes. FRT Machinery recommends setting up a dedicated smelting area equipped with all necessary tools including crucibles, tongs, and a melting furnace.
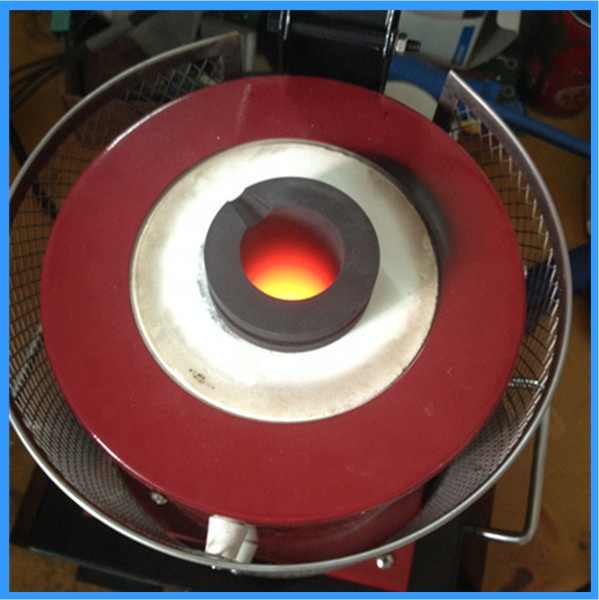
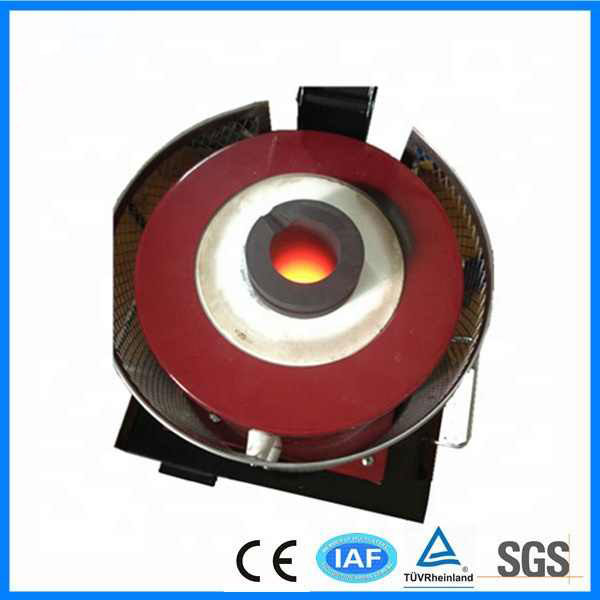
Smelting Silver with FRT Machinery
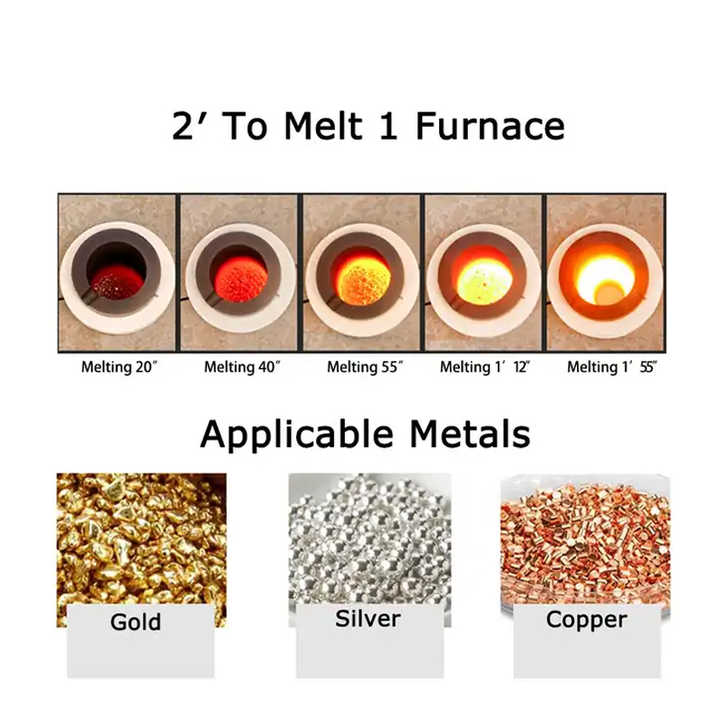
The process of smelting silver involves heating the metal until it liquefies, then pouring it into molds to cool and solidify. Using high-quality equipment like those offered by FRT Machinery ensures consistent results every time. Start by placing your silver pieces in a crucible and gradually increase the temperature in your furnace. Monitor the temperature closely to avoid overheating, which can cause the silver to oxidize or lose its luster.
Casting and Cooling Your Silver Ingots
Once your silver has melted, carefully pour it into pre-prepared molds. The shape and size of these molds will depend on your intended design. For stamping jewelry making, flat sheets or bars are often preferred. Allow the silver to cool slowly; rapid cooling can result in uneven shrinkage and potential cracks. FRT Machinery’s cooling systems help maintain optimal conditions during this critical phase.
Rolling and Shaping Your Silver Sheets
After cooling, your silver ingots need to be rolled into thin sheets suitable for stamping. This is typically done using a rolling mill, which flattens the metal to a uniform thickness. Adjust the settings on your rolling mill according to the desired thickness of your sheet. FRT Machinery’s rolling mills are designed with precision to achieve consistent results across the entire width of the sheet.
Stamping Designs onto Your Silver Pieces
With your silver sheets ready, it’s time to bring your creative vision to life through stamping. Choose stamps that complement your style and press them firmly onto the surface of the metal to create impressions. Practice on scrap material first to get familiar with the pressure required. Remember, the softer nature of fine silver means you’ll need less force compared to harder metals like brass or copper.
Finishing Touches for Your Stamped Jewelry
After stamping, give your pieces a final polish to enhance the contrast between raised and recessed areas. Use polishing compounds and brushes to smooth out any rough edges and bring out the shine in your silver. FRT Machinery offers a range of finishing tools that make this step both efficient and enjoyable. Once polished, your stamped jewelry is ready to be assembled into earrings, pendants, or whatever form your creativity dictates!
By following these steps and utilizing reliable machinery from FRT Machinery, you can elevate your jewelry making skills and produce beautiful, custom pieces that truly stand out.